![]()
|
Anchor well inspection
hatch When we realized that the bolts holding the bowsprit were not fitted with washers and nuts we knew we had a problem of the most uncomfortable kind. As you all know drilling holes in our boat is not the most enjoyable thing. But we had to choose between loosing the bowsprit when sailing with the code zero or keeping it on the boat intact. The decision was quite easy and later on the inspection hatch came in handy when we fitted the anchor chain striker plate and needed to tighten the nuts inside the boat. We also added washers and nuts to the front chain plate just in case.
|
|
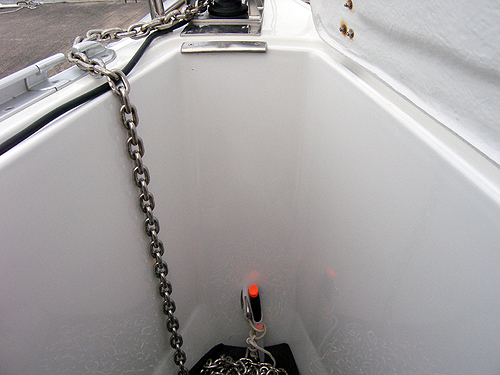 1. 1. The inside of the anchor well, still virgin country at this stage.
|
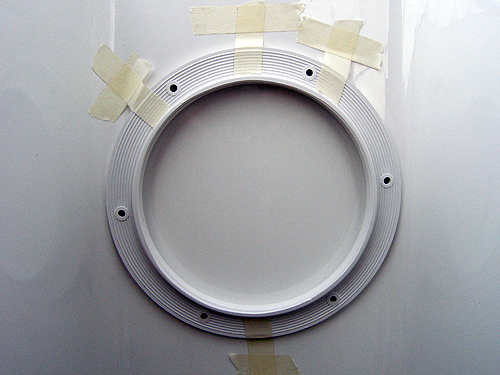 2. Tape the inspection hatch frame backwards to the front of the anchor well. Measure then remeasure and fix it with more tape.
|
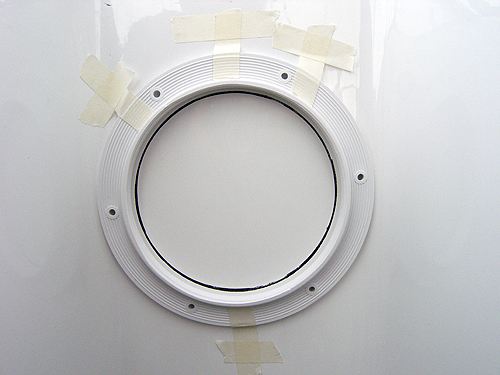 3. When you are sure that you have centred the frame, draw a circle inside the frame. |
 4. Remove the frame and check that the circle is still in the middle of the front bulkhead.
|
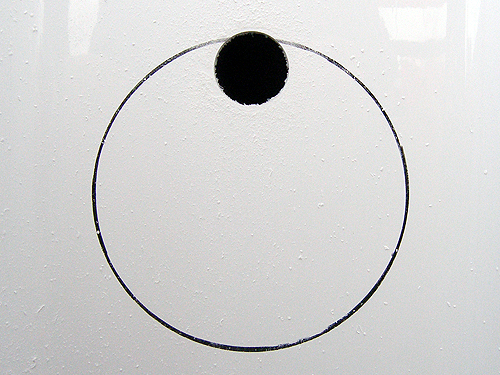 5. Since we did not have a proper saw (and necessary space) we used a 35 mm hole saw and started to drill. We drilled on purpose outside the black marking as the marking was done inside the frame.
|
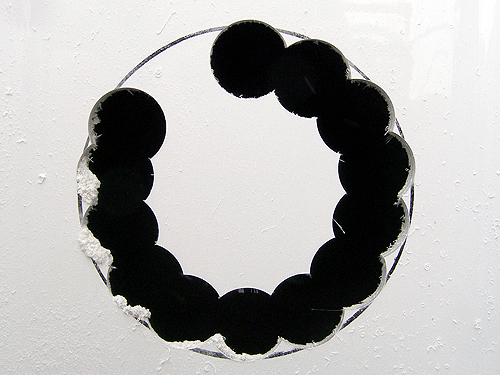 6. Continue drilling... |
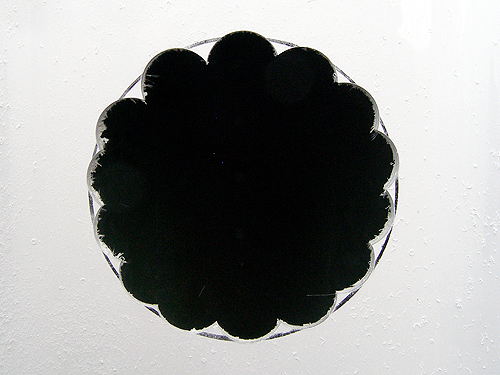 7. ...until you have drilled out the whole centre of the marked area. |
 8. Use a rotating file (bur) in a drill or something similar and start to remove the excess material till the frame fits the hole. Make the hole slightly larger than the frame just in case there is any movement around the frame.
|
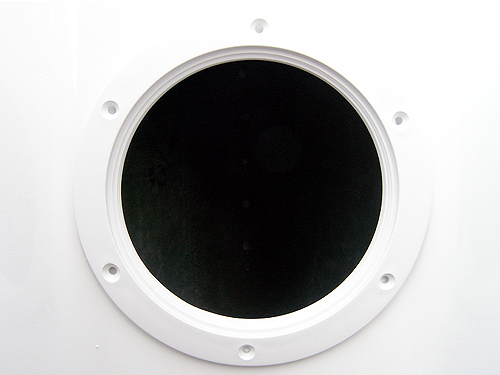
 9. Since the lid will press the frame outwards a little, try dry fitting the lid and then adjust the edges of the hole if necessary. When everything is perfect, add Sika-flex (or similar) on the frame and fit the frame in the hole. Don't forget to put Sika-flex in the screw holes. Use a mirror inside the inspection hole to check that the Sika is sealing around the frame and use your finger dipped into water with some washing detergent to smooth the Sika if necessary. |
Material The inspection hatch is a standard 26 cm hatch. We chose to fit the biggest possible so we could be able to put in one arm fully and reach the bolts and screws under the deck. We think putting in a smaller hatch would just not be the same. A bigger hatch gave us also the possibilty to reach the bowsprit bolts that is sligtly to the aft of the boat, on both sides of the anchorbox.. |
|
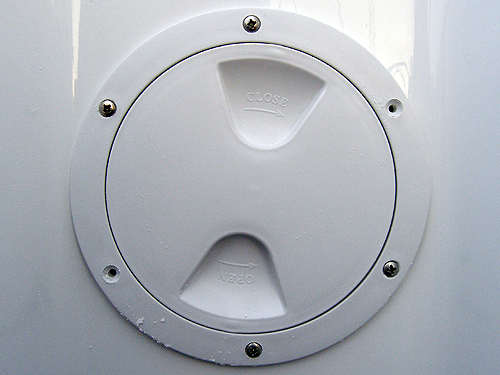
Protection
for the windlass remote connector lid If you have the same installation och remote connector to your Lewmar windlass in the anchor well as we do then you probably have experienced the pain that comes when you hit the lid with your bare legs. After several less successfull solutions we found finally one that has som war worked out quite well. We bougt a tube ending in natural rubber that just happends to fit the jagged lid perfectly. Its the same kind of tube ends used on chair legs.
|
|
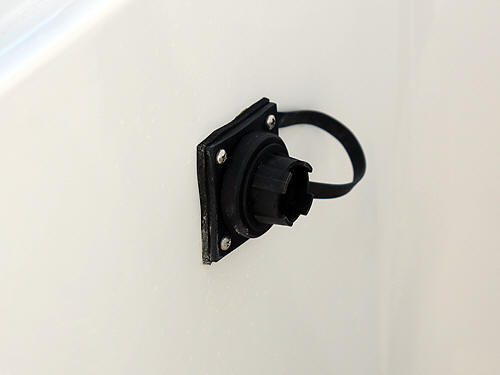 1. The legg killing remote controll lid
|
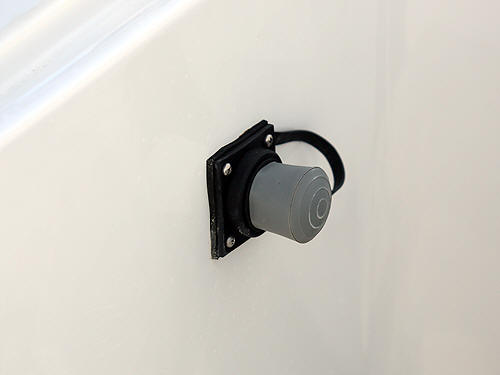 2. A tube ending in rubber solved the |
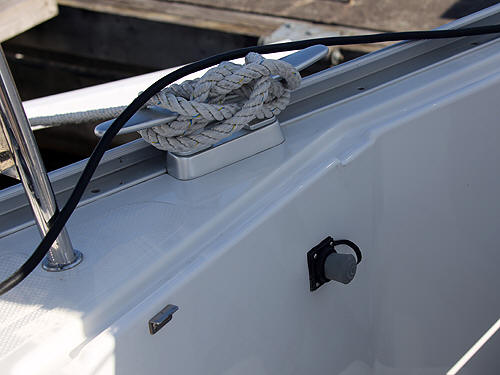 3. The final result in an overview. |
|