![]()
|
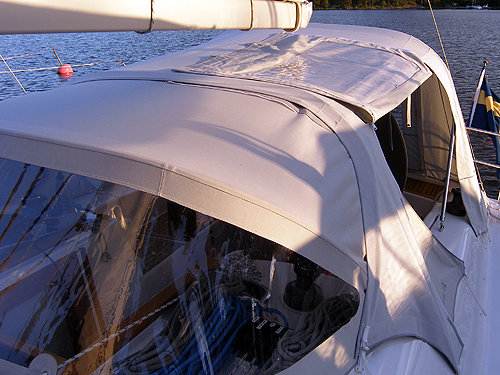
Cockpit tent and tent deck
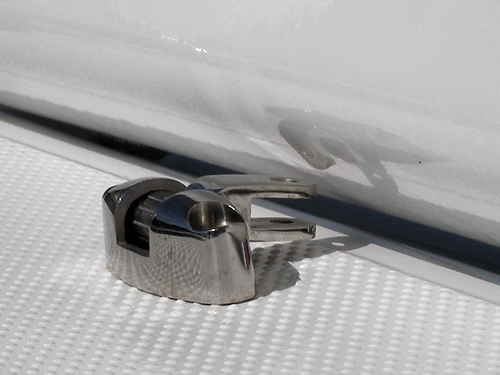
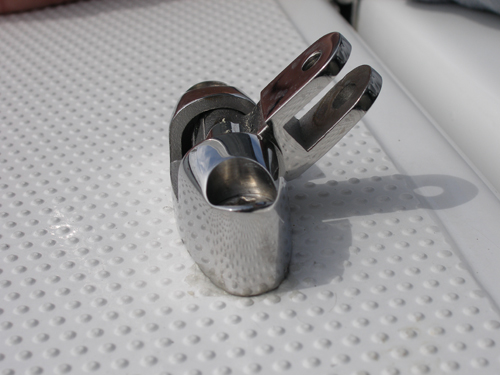
fittings First time we opened the hatches in the cocpit we realized that there was something wrong. If the fittings was folded in to the direction of the cockpit they would be squeezed by the hatch and damage the gelcoat. Or, as it happend to us, we squeezed the "fork" and could not later fit the struts for the tent in the "fork" Couple of centimeter back, against the outside of the boat, and the problem had been solved. Now we have to pay attention everytime the hatches are opened, especially if we have new people onboard. NB! Late 2009 we received a mail with a very simple solution to this problem. More about it further down this page.
|
|
1. Further than
this it is not possible to open the hatches, otherwise the
fittings will be squeezed between the deck and the hatch. |
2. Close up on the problem |
3. To be sure that
the hatches will not be damaged we HAVE TO remeber to fold the
fittings to the opposite direction, or else... |
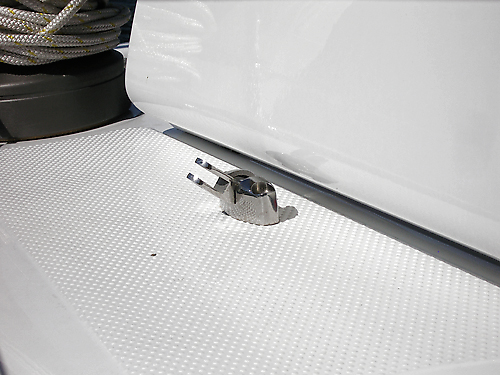 4. As you can see, it is about knowing what you are doing. A couple of centimeter to the left and everybody would been happy as a bee. |
|
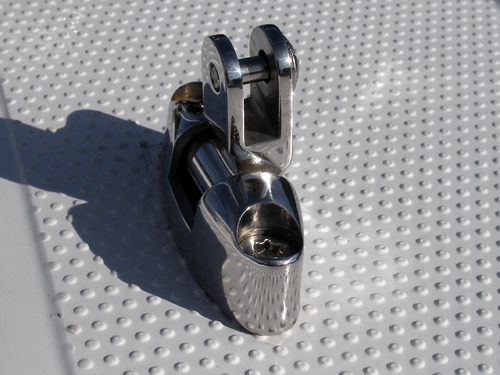
Improvement Later in fall 2009 we got a suggestion that we unscrew the fittings and just turn them 180 degrees. It was suggested that the fittings was installed backwards. This will be done in spring 2010. Stay tuned, new pictures will be posted. A small change we have done so far is that we remowed the original screw in the fiitting as it required tools and lot of fumbling around with a risk of dropping the screw. |
|
|
1. This solution
requires always that you have a screwdriver when you assamble the the
cockpit tent. |
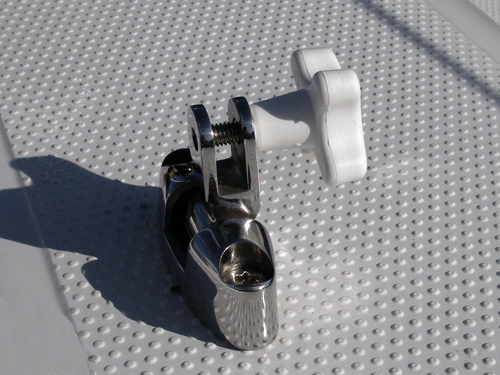 2. By replacing the screw with a star shaped handel with threaded axis you can forgett all about screwdrivers. |
 3. Works fine both from left or right direction. Bought from a local hardware store i Sweden called Flinks Järn with the address Lindhagensgatan 129 in Hornsberg, Stockholm if you have time to wisit Sweden :)
|
|
|
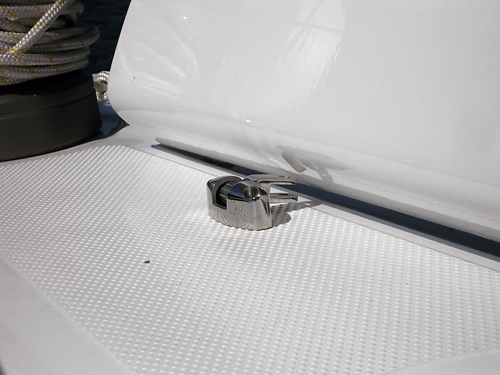
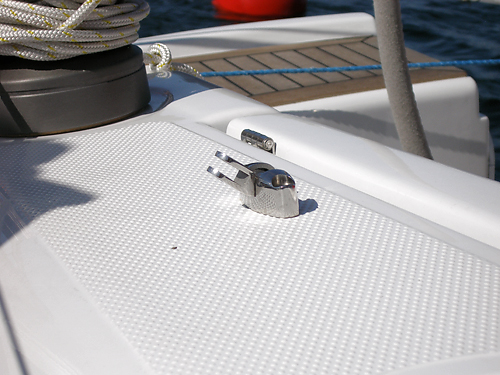
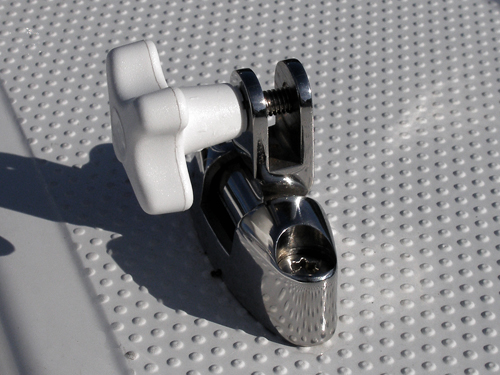
Solution 2010-06-19 The fittings are now removed, turned 180 degrees and suddenly all problems are gone. No need anymore to be worried that fork will be damaged by the hatch lid. |
|
4. The fork points now to
the outside of the boat instead of into the cockpit. |
 5. The fork can still damage the lid to the hatch but you just have to learn to fold the fork down. |
|
Cockpit tent zipper |
|
 1. The cockpit tent in it self was really great and fittee quite nicely on the top of the sprayhood till we after one days use found out that there was something wrong here. |
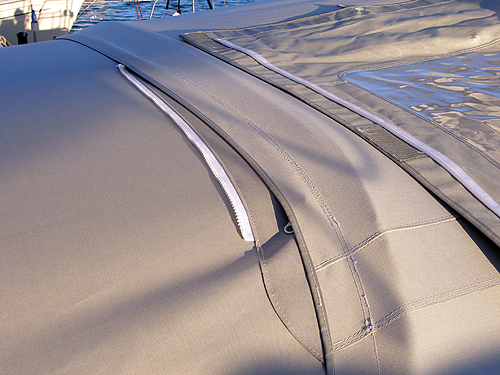 2. The portside zipper was sawn to far from the counter part and gave after when the tent was tightened. Not that the zipper fills any function here to be honest as the straps keeps it in place anyway. A quick call to our reseller and we got the sprayhood fixed at a sailmaker for free...for us. |