![]()
|
Cockpit table The table fitting is from Jefa who also sell full table kits but as they are quite expensive and did not have the table size we needed, we just bought the fittings. When drilling the first hole you have to be careful so you drill into the thickest part of the steering pedestal, otherwise the screws will not grip properly. Start by taking off the top lid of the steering pedestal and locate the 2 U-shaped railings inside the column. Drill the first hole into one of the railings, the second should then fit automatically but please measure anyway! If you plan to use other table fittings you should always drill into the U-shaped railings as it is the strongest part of the pedestal.
|
|

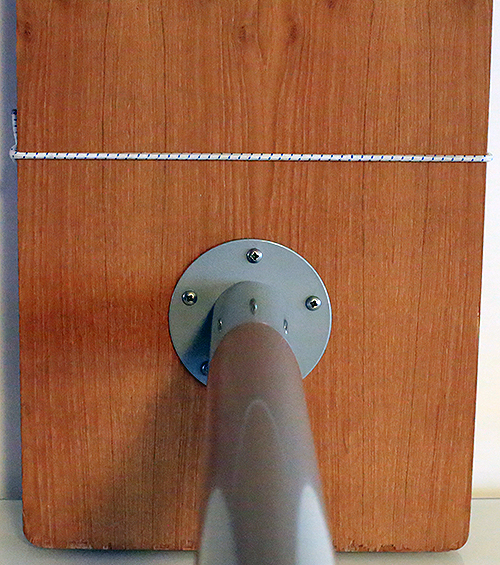
1. The pedestal fitting in its place. We suggest that
you protect the white surface before you use wrenches in order to avoid
scratch marks. |

2.
Thanks to the irregular shape of the little arm the table will not be
able to jump out of the brackets. The stainless steel bar that fits
inside the opening is flat in two places. |
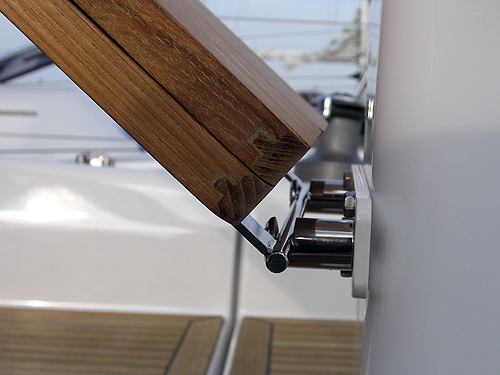
3. By holding the
table up at a 45 degree angle the flat parts of the stainless steel bar
slips easily into the bracket slots. |

4. When the
table is folded down to a horizontal posotion the stainless steel bar is
automatically locked inside the arm brackets slots. |

5. Picture
of the stainless steel bar in place. |

6. If you like the table can also be used as a back
support when sitting on the floor. |

7. The table fully folded. |
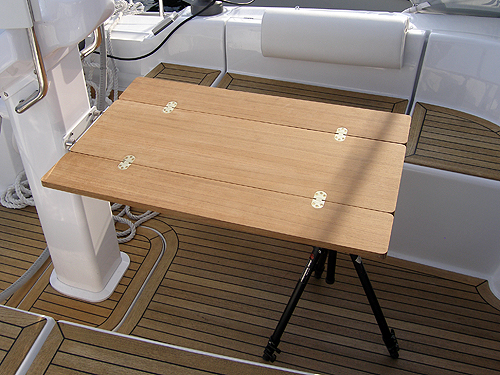 8. Table fully opened. |

9. Table half open on starbord side. |
 10. Table half open on portside. |
11. Here you can see the
two rails inside the pedestal (at 12 o'clock) where you should drill the holes. |
 12. Close up of the rail. |
 13. Close up of the screws in the rail. |
 14. Perfect installation of the Jefa table support! Not that we did it by purpose, we just got lucky! |
 15. for the leg we chose one from IKEA that was a perfect fit for the table. I suggest that you find a leg before you decide the height. The leg is detachable from its plate.
|
 16. Leg screwed on its place.
|
 17. Side view of the table/leg fittings. The rubber cord is only to keep the table flaps together when stowing the table away.
|
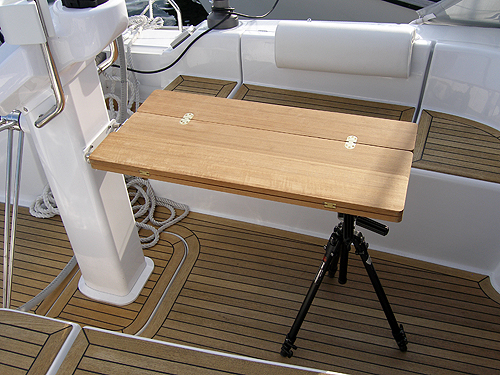
18. As the table looks
like when in uprigh position.
|
|
Fom Jefas picture gallery.
Pictures below are from Jefa and shows their complete kit with all parts included. Some of the parts we chose not to use due to the lenght of our table and risk of getting "hooked". |
|
 |
 |
 |
 |
 
|
 |
