![]()
|
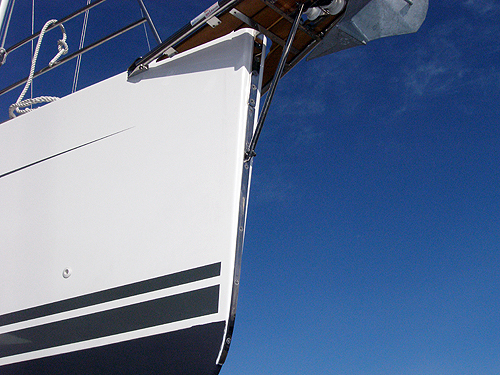
Bow protector
(Cutwater)
The bow needed
some protection just in case a jetty or similar would appear
from nowhere and decide to cross our path and strangely damage
our precious boat. We had seen some solutions on other boat and
contacted our blacksmith who also is a Hanse owner. We had seen
some of his work earlier and were satisfied
with the quality. |
|
1.
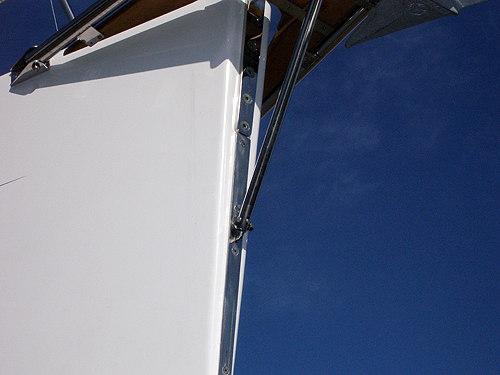
Our requirements were: there must not be any holes under the
waterline, the iron must look as it would have been fitted by
the shipyard and the iron must be the same thickness as the
support for the forestay. |
2. The fitting of the iron was done on land. We had to do some serious drilling in the bow which really did not feel fun at all. |
|
|
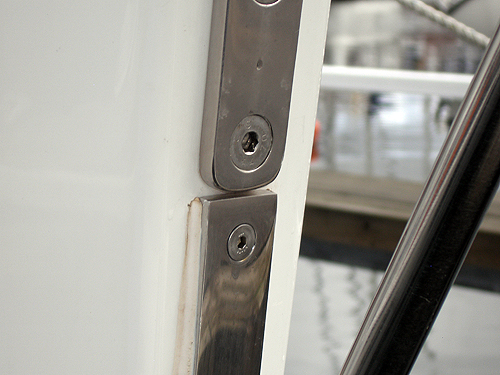
3. To drill
through the epoxy wasn't that difficult and same goes for
cutting the threads for the bolts. We started by marking
one hole at the time, drilling a small guide hole and then a
bigger one in three stage so we got a nice hole step by step and
avoided cracking the epoxy or getting the drill stuck. |
4. All screw holes and edges of the iron were sealed with SIKA-flex |
|
|
5. The most serious problem occurred when we drilled the most upper hole on the iron, which was the last hole. The problem was that there is a thick aluminium reinforcement plate and the small drill bit we used got stuck in the plate and broke off!! It took us hours to drill through the piece of drill bit in the hole which almost resulted in a third world war at home. Try to not use anything thinner than 4-5mm drill bit. |
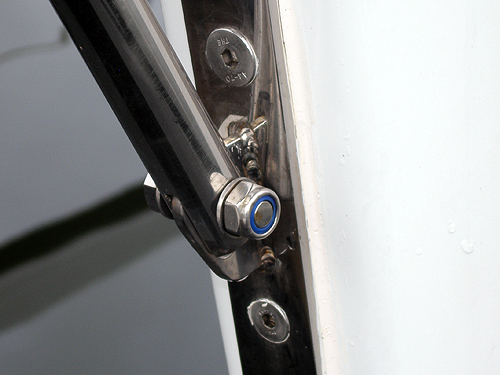
6. As we had planned to buy a Code Zero sail and we knew that it would need a stronger strut we asked the black smith to weld the strut fitting onto the bow iron. This way we avoided a couple of extra holes and hopefully got a stronger solution. The old strut was reinforced with a second tube inside and then welded to the outer one. If you have sharp eyes you can see on this picture that the upper hex bolt is actually larger than the lower one. We asked the blacksmith to use one of the old M10 holes so we would have one stronger point above the welded strut fitting. The other bolts were all M8 size. On the inside we added washers and Nylok nuts. |
|