![]()
|
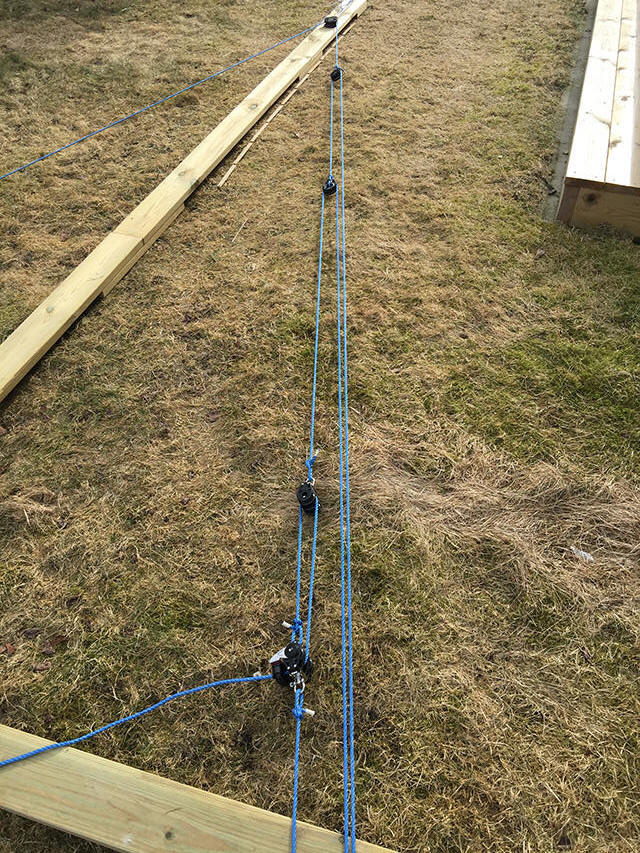
Improvements on Hanse 370e Samson II I have copied the backstay setup presented by Marco on this excellent page. I took som pictuers of the process. First I made a dummy rig to make all the measurements. I got the numbers from Marco, but wanted to do an extra check. I did som testing on the boat of the setup to see how much movement the upper block would have. Result was approx. 120 mm.
|
|
|
Nickname on MyHanse: SamsonII |
|
|
|
|
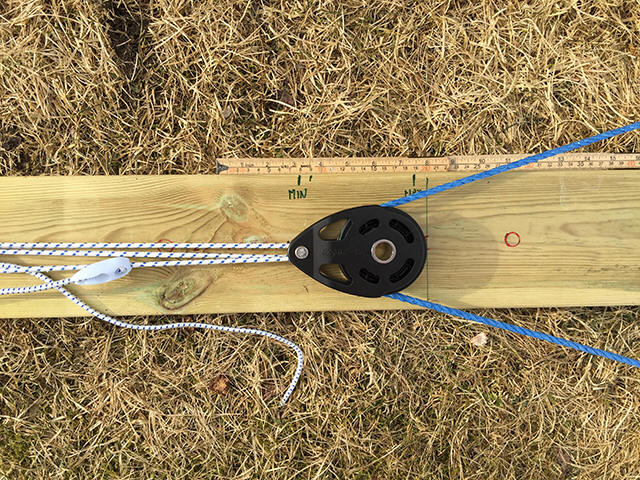 01. Max and min tension marked at the upper bloc kon the rig. |
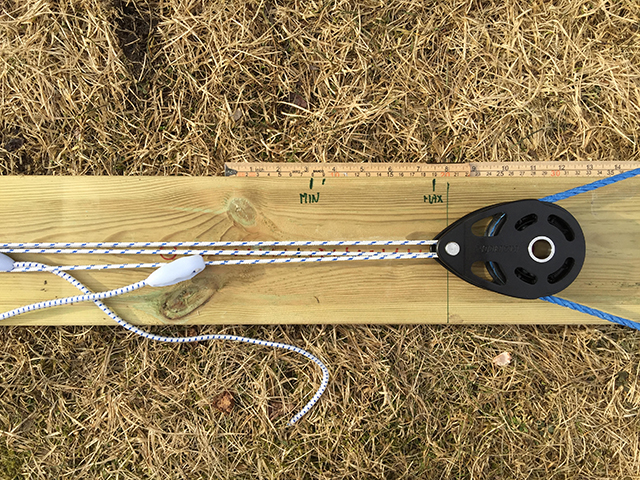 02. I pulled max to see how much movement the setup would give me. |
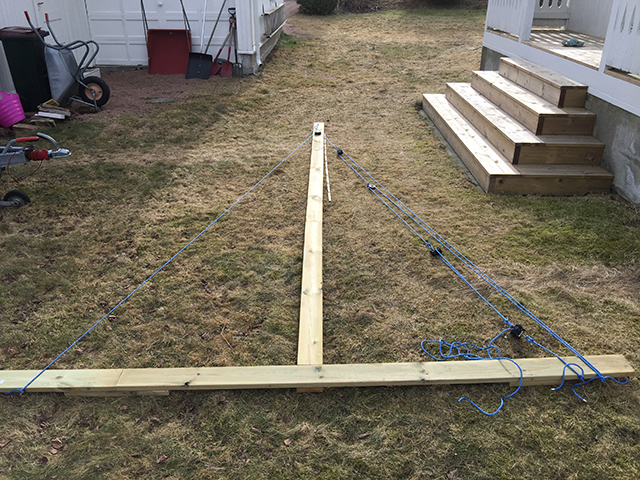 03. The rig in my garden! (cheap rope used for testing) |
 04. Minimum tension |
 05. Maximum tension |
|
|
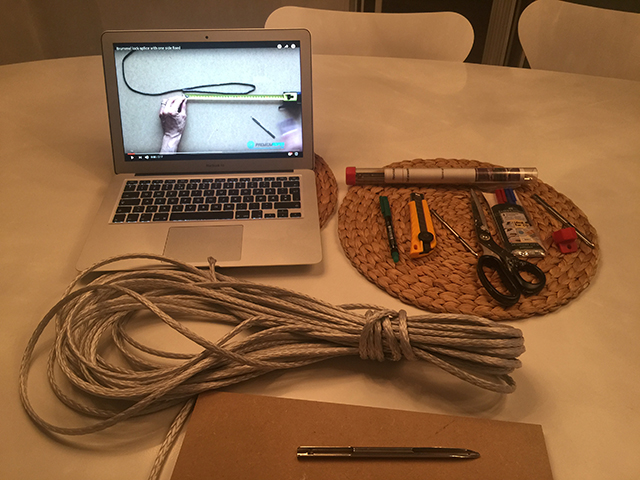
The splicing of the block-end of the ropes were done at home. The other ends in the boat. I used a brummel lock splice. I followed the instructions here: https://www.youtube.com/watch?v=4WW7Qvg3VjI I quickly realized that dyneema is hard to cut. So I have now purchased this fine tool from D-Splicer: https://d-splicer.com/d-16-scissors-2/ |
|
 01. Ready for splicing the dyneema. |
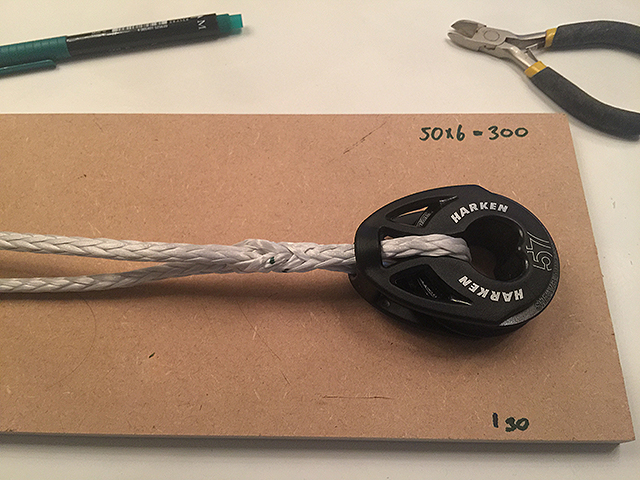 02. Splicing the Harken Carbo block. |
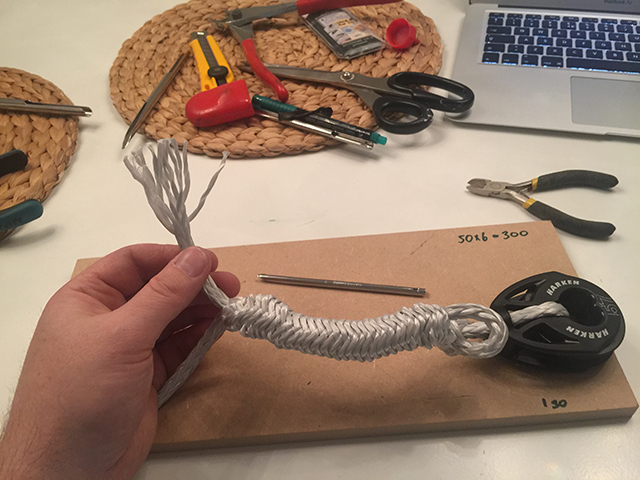 03. Inserting the tail. I used a piece of wood to mark measurements for convenience. |
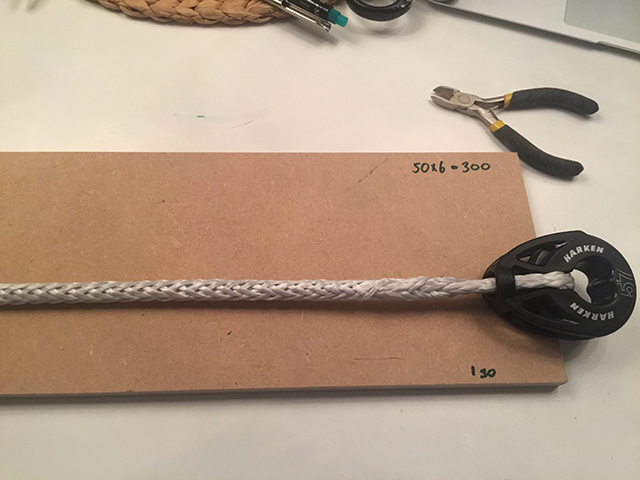 04. Finished! |
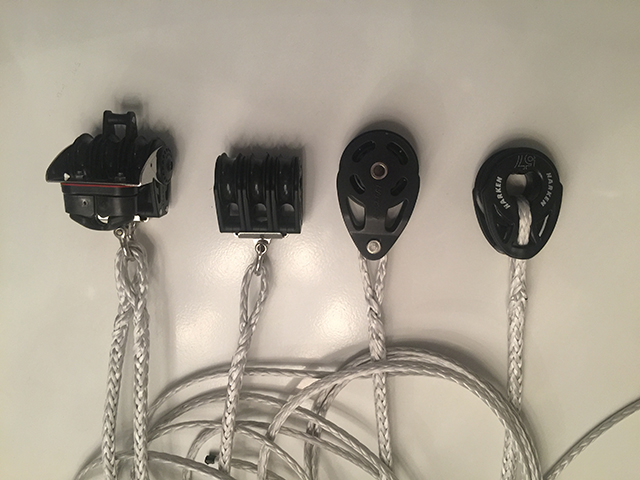 05. All blocks spliced |
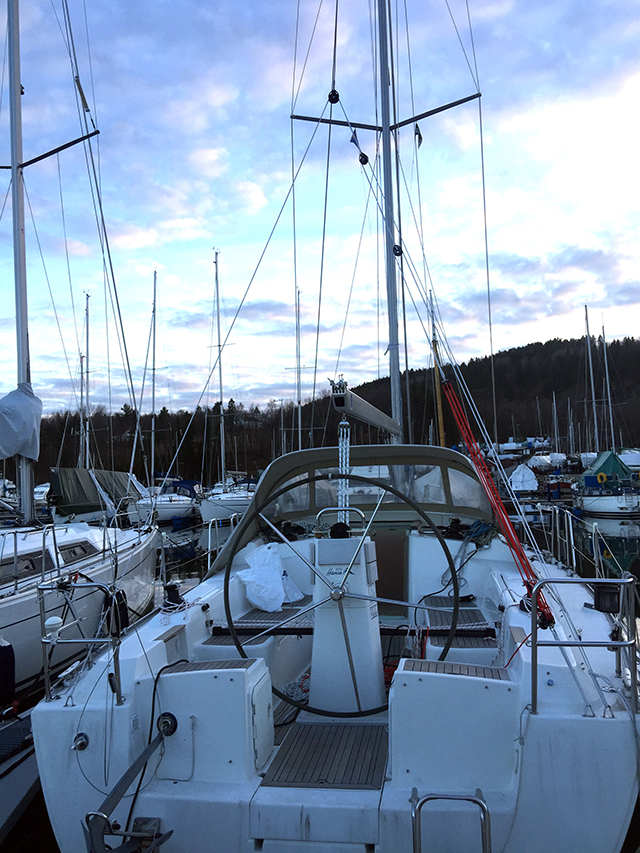
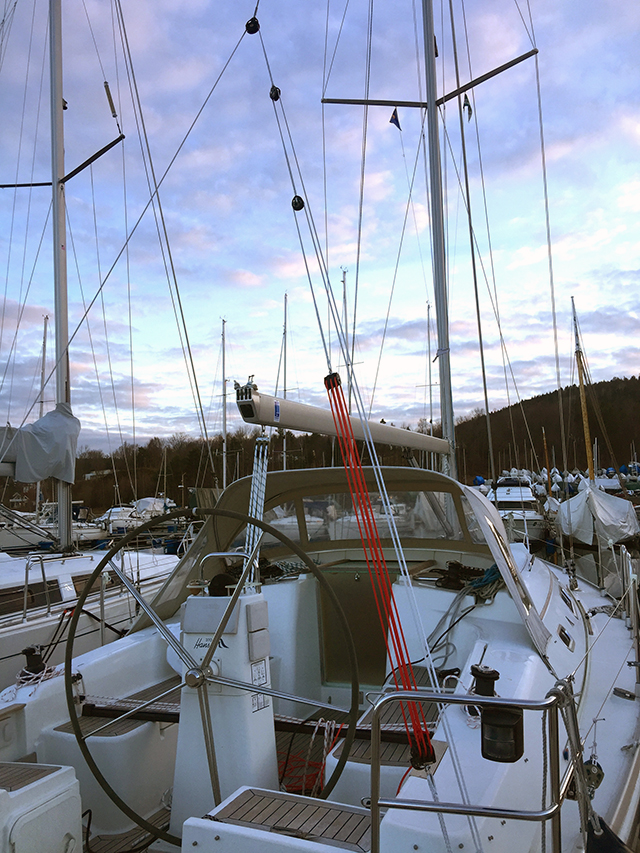 06. Installed on the boat. |
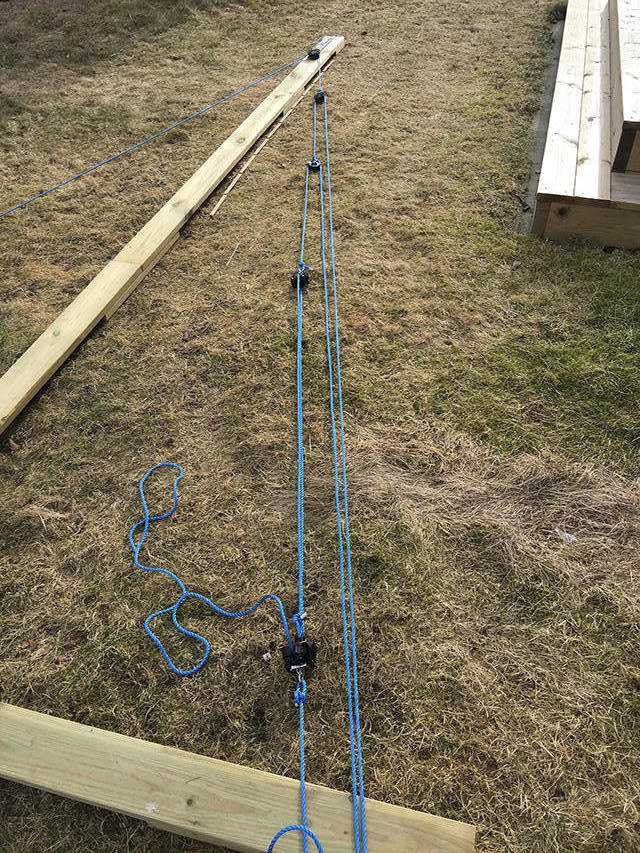
 07. I used 8 mm toggels to fix the long ropes, and a doubble rope for the trippel block with cam. The toggles was not in place when I took the picture – I used a knot to fix things in place for a quick test.
|
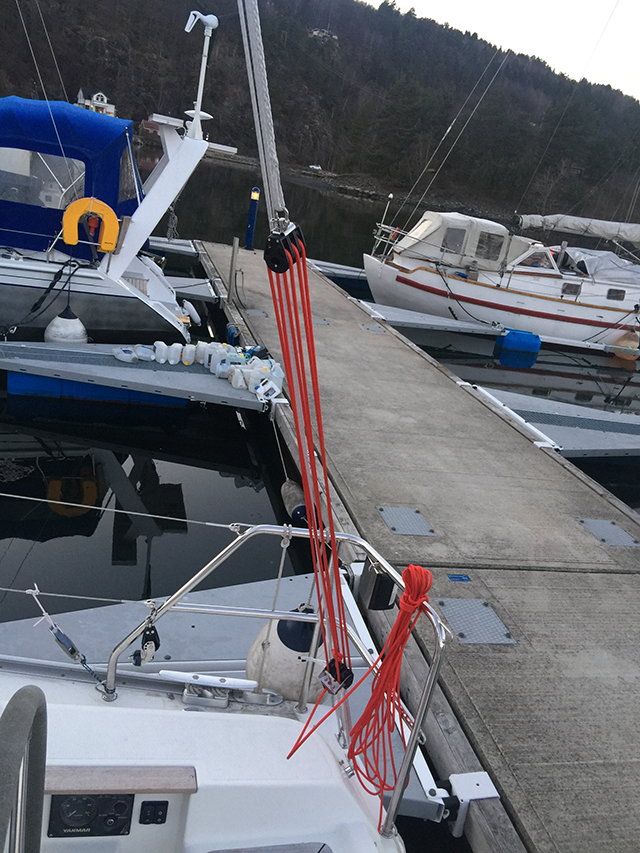 08. The 6:1 purchase with red 6mm dyneema |