![]()
|
Improvements on Hanse 400 Fragancia
|
|
|
Nickname on MyHanse: Jeb Boat name: Fragancia Modell: Hanse 400e Location: Sweden, Västerås Contact: Click here! |
|
|
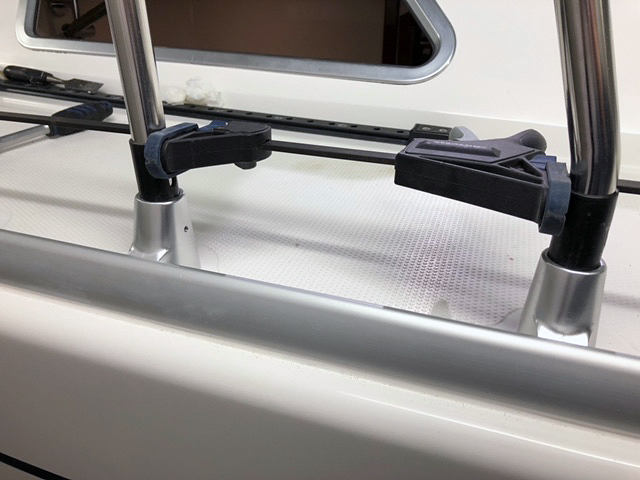
Text and pictures (C) Jesper Bergsjö 2021 Guardrail
gates |
|
 |
|
|
01. I started off
by exposing the nuts for the original stanchion that must be removed. In
the head it was possible to remove the trim above the looker (screws
from below). Above the shower I had to cut the sealant (Sikaflex),
remove a few screws and carefully bend the panel down. |
|
 |
 |
 |
Continue scrolling down. |
|
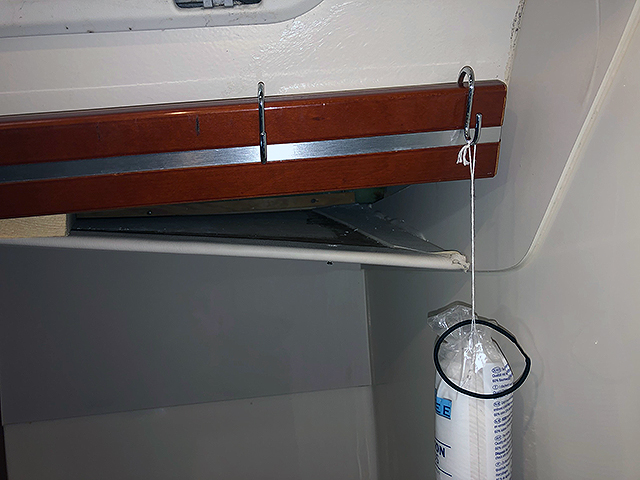
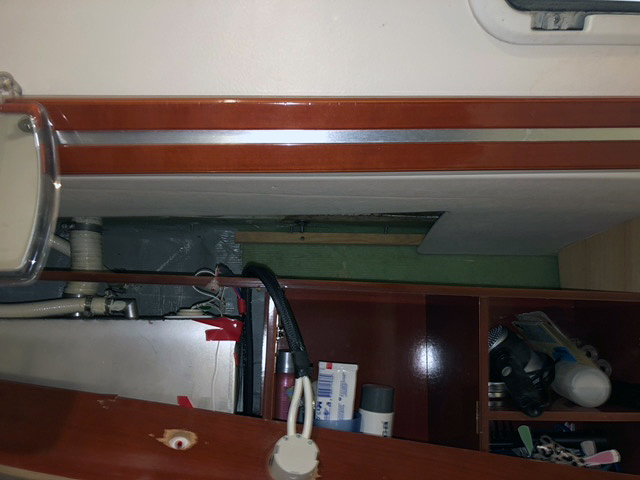
02. On the
galley side it was a little bit worse access. I first removed the inner
ceiling behind the sofa (after removing the mahogany trim), and then cut
away a small piece of the bulkhead to get access. |
|
 |
 |
|
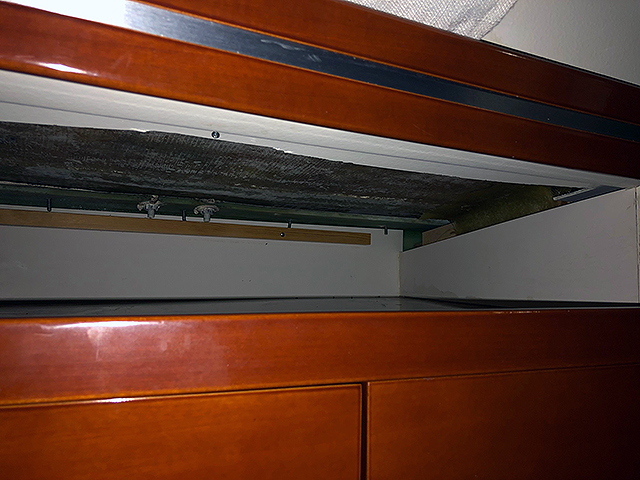
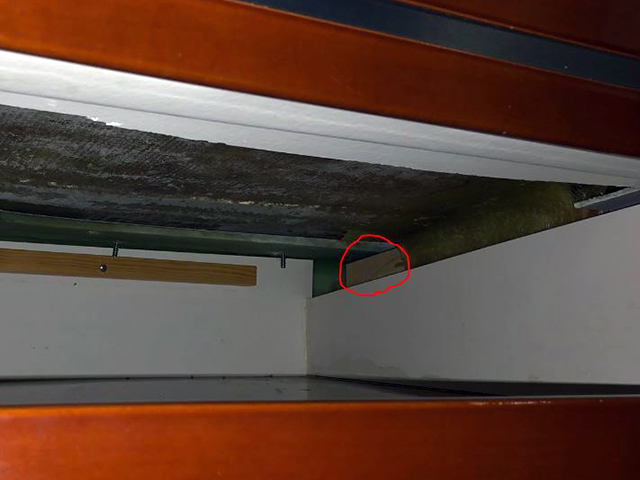
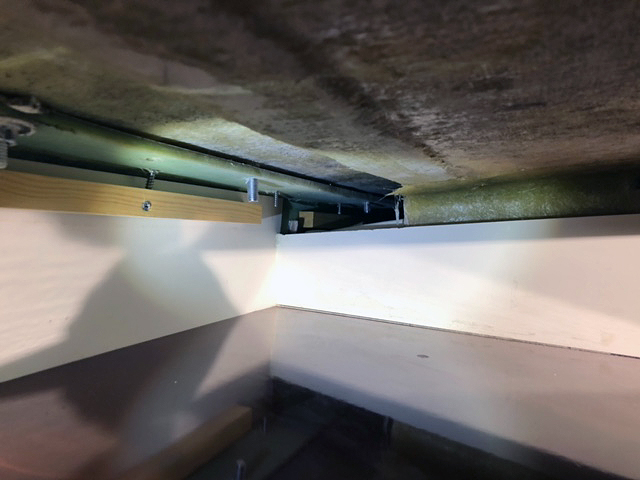
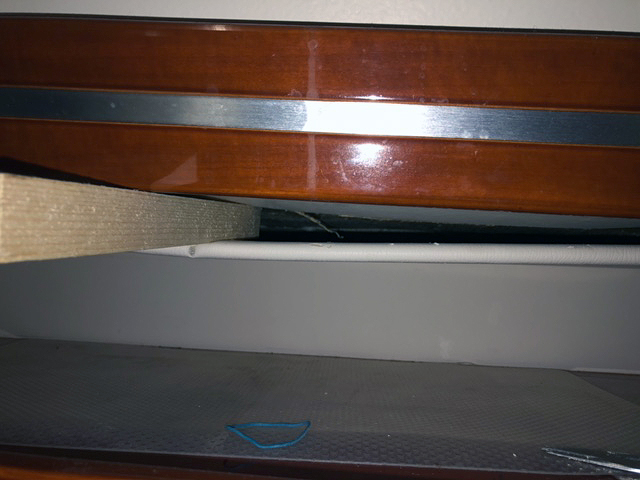
03. The trickiest
part was above the galley. First, I tried to remove the inner ceiling
but there was trim (glued in place) at both bulkheads preventing this.
The solution was to loosen it and then create a gap with some wooden
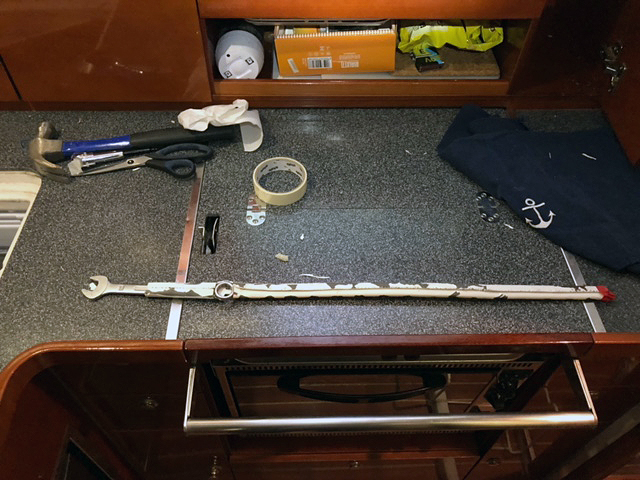
wedges. To be able to hold the nuts (bolts were tightened from the deck)
I made a special tool, basically a long extension for my 17mm wrench to
reach behind the ceiling panel. The nut was then fixed in the wrench
with masking tape. |
|
|
|
Continue scrolling down. |
|
04. I repaired
the holes from the removed stanchion base with fiberglass putty and then
grinded down approx. 1mm with my Dremmel. I finished by adding gelcoat
putty that was sanded in steps and finally rubbed. The gelcoat below the
old stanchion base was whiter than the rest of the deck, but the stock
RAL9003 gelcoat was a perfect match. |
|
 |
 |
|
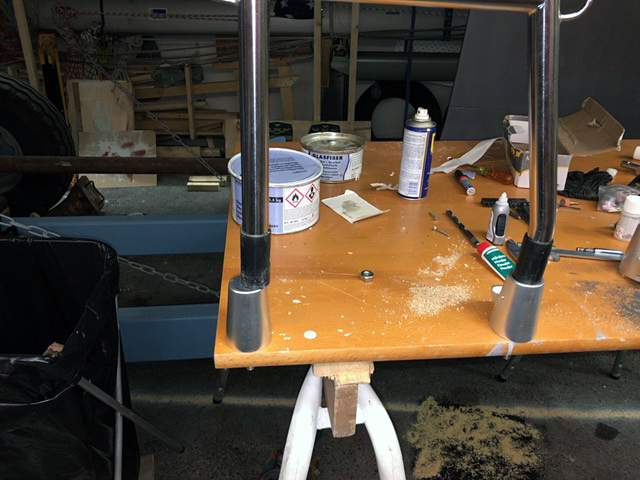
05. Next step was
to drill new holes for the new stanchion bases. I took measures from the
Gate stanchion but when I should mount the first one it did not fit. The
root cause was a slightly bend on the gate stanchion (probably from the
welding) and I needed to fill and make new holes slightly more
separated. I worked out the exact distance by test mounting on my work
bench. For final installation I had to press it apart with a reversed
clamp. |
|
 |
 |
|
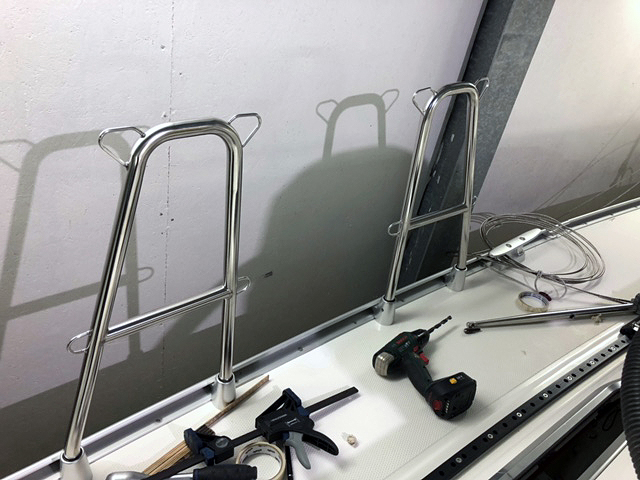
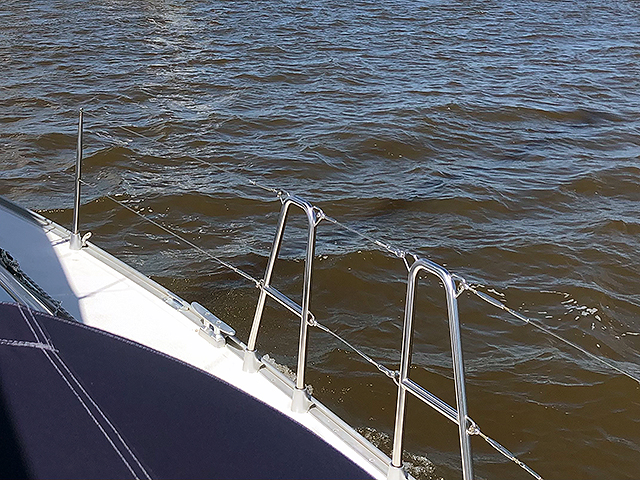
06. Finally, I
took measures and had my rigger rework the rail wires. |
|